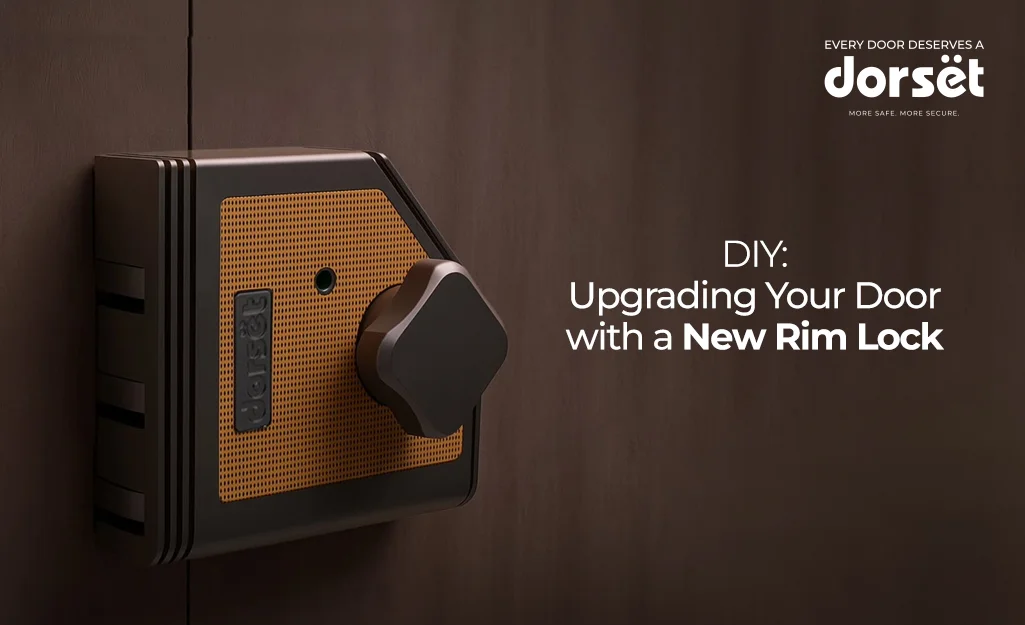
DIY Upgrading Your Door with a New Rim Lock
Ready to upgrade your door with a new rim lock but worried about expensive installation costs? Don’t worry, you don’t need to be a professional locksmith to pull this off. Installing a rim lock is one of the simplest DIY security projects you can try, even if you’ve never taken on a project like this before. Unlike a mortise lock that requires complicated cutting, a rim lock mounts directly on the surface, so you can achieve professional-looking results with basic tools and a little patience.
What You’ll Need Before Starting
Essential Tools
- Electric drill with various drill bit sizes
- Screwdriver set (both Phillips and flathead)
- Measuring tape
- Pencil for marking
- Level (even a smartphone app works)
- Chisel (for minor adjustments if needed)
- Safety glasses
- Dust mask
Materials Required
- Your new rim lock
- Screws (usually included with the lock)
- Wall plugs if mounting to masonry
- Pull handle for easy door operation
- Optional: wood filler for any mistakes
Preparation Steps
Before you get started, check the basics. Make sure your door opens and closes smoothly. It should not be warped or damaged. Also, confirm there’s enough clearance in the area where you’ll be mounting the rim lock, and always double-check that you won’t be drilling near any electrical wiring or plumbing. A few minutes of preparation now can save hours of fixing later.
Step-by-Step Installation Guide
Step 1: Choose Your Lock Position
Think about comfort as well as security. Position your rim lock at a height of around 36–42 inches from the floor. This range works well for most family members. Hold the lock in place and visualise how it’ll look once installed. Make sure it doesn’t interfere with existing hardware or decorative panels.
Step 2: Mark the Lock Body Position
Place the lock body against the door in the position you’ve chosen. Use your pencil to trace around it and mark screw holes. Double-check with a level. An uneven lock won’t just look off, it’ll give you headaches during use.
Step 3: Mark the Cylinder Position
Most rim locks have a cylinder on the exterior side. Align it with your lock body and mark the center point for drilling. This alignment is key to smooth operation later.
Step 4: Drill the Cylinder Hole
This is where patience pays off. Use the drill bit size recommended by your lock’s instructions, and drill slowly through the door. Keep your drill straight and steady.
Pro tip: Place a scrap piece of wood at the back of the door while drilling. It’ll stop the wood from splintering as the bit exits.
Step 5: Install the Lock Cylinder
Slide the cylinder into the hole from the outside. The connecting rod should reach through to the inside of the door, ready to fit into the lock mechanism. Make sure the cylinder sits flush and snug.
Step 6: Mount the LockBody
Position the rim lockbody on the interior side, aligning it with the connecting rod. Mark the screw holes, then drill pilot holes. This small step prevents the wood from splitting.
Step 7: Secure Everything in Place
Now fix the cylinder and lockbody with screws. Tighten them firmly, but not so much that you crack the wood or jam the mechanism. Test the lock with the key to make sure it works smoothly.
Step 8: Install the Strike Plate
The strike plate on the door frame is what the bolt slides into when locked. Position it carefully, mark the holes, drill pilot holes, and secure with screws. Test again. Smooth movement is the goal here.
Step 9: Test Your Lock
This is the fun part seeing your work in action. Close the door and test the lock several times. If the bolt doesn’t line up perfectly, make minor adjustments. Don’t force it. Small tweaks go a long way.
Step 10: Add Your Pull Handle
A pull handle makes the door easier to use day-to-day, especially when your hands are full. Install it at a comfortable height, either aligned with or slightly below the lock. This small addition also helps protect the lock from unnecessary wear.
Why Dorset Rim Locks Are Perfect for DIY Projects
When it comes to rim locks, choosing the right brand makes all the difference. Dorset’s rim lock range like the Phantom series is built for easy installation and long-lasting durability.
Common DIY Mistakes to Avoid
Even experienced DIYers can run into issues. Keep these common mistakes in mind:
- Incorrect Measurements: Always measure twice before drilling. Fixing misplaced holes can be frustrating.
- Wrong Drill Bit Size: A hole that’s too loose or too tight causes alignment problems. Test on scrap wood first.
- Ignoring Door Material: Hollow doors, solid wood, and metal all need slightly different handling.
- Overtightening Screws: Snug is enough, overtightening can strip screws or damage components.
Adding a Pull Handle for Complete Functionality
Without a pull handle, people often pull on the cylinder or key to close the door, which can wear out the mechanism. Pick a handle that complements your lock’s design and install it about 4–5 inches above or beside the lock for the best ergonomics.
Final Tips for Success
Take your time, there’s no prize for speed in DIY. If something feels off, pause and reassess rather than forcing it. Keep your old hardware until you’re completely satisfied, just in case you ever want to revert. And remember, a rim lock is only as strong as the door and frame it’s attached to, so make sure the entire setup is solid.
Completing a rim lock installation yourself will give you a great sense of accomplishment along with better security. You’ll have the satisfaction of knowing exactly how your lock is installed and the confidence that comes from understanding everything in your home. Plus, you’ll have developed skills that will serve you well for future home improvement projects.


